After replacing the crankshaft sensor, there are a few crucial steps you should take to ensure optimal performance and prevent further issues with your vehicle. Firstly, it is essential to clear any error codes stored in the engine control unit (ECU) using a diagnostic tool. This will help reset the system and ensure accurate readings from the newly installed sensor. Next, it is recommended to perform a thorough inspection of the engine bay, checking for any loose connections, damaged wiring, or signs of oil leaks. These issues, if left unaddressed, can negatively impact the sensor’s functionality and lead to future problems. Additionally, it is highly advisable to test-drive the vehicle under various conditions to evaluate the sensor’s performance and verify if the issue has been resolved. This step will provide peace of mind and confirm that the replacement was successful. By following these important post-replacement procedures, you can ensure that your vehicle operates smoothly and efficiently, minimizing the risk of further complications.

What to Do After Replacing Crankshaft Sensor
| Step | Description |
|---|---|
| 1 | Clear Diagnostic Trouble Codes (DTCs) |
| 2 | Perform a Sensor Relearn Procedure |
| 3 | Monitor Engine Performance |
| 4 | Test Drive the Vehicle |
| 5 | Ensure Proper Sensor Functionality |
| 6 | Check for Any Remaining Issues |
After replacing the crankshaft sensor, it is crucial to follow a series of steps to ensure proper functionality and optimal engine performance. The table above outlines the recommended actions an expert would take to complete the replacement process effectively.
Step 1 involves clearing any Diagnostic Trouble Codes (DTCs) that may have been triggered by the faulty sensor. This step ensures that any previous issues are no longer affecting the system and allows for accurate monitoring moving forward.
Performing a Sensor Relearn Procedure (Step 2) is essential to synchronize the newly installed crankshaft sensor with the engine’s control system. This step guarantees precise timing and alignment, optimizing engine performance.
Once the sensor relearn procedure is completed, it is vital to monitor the engine’s performance (Step 3). Experts meticulously observe various parameters, such as RPM, acceleration, and fuel consumption, to ensure the sensor replacement has resolved any previous issues.
To validate the effectiveness of the repair, a test drive (Step 4) is highly recommended. This step allows experts to assess the vehicle’s overall operation, including smoothness, responsiveness, and any potential abnormal noises or vibrations.
After the test drive, it is crucial to verify the proper functionality of the newly replaced crankshaft sensor (Step 5). Experts use diagnostic tools to monitor sensor signals, ensuring accurate readings and confirming that the sensor is operating within the specified parameters.
Lastly, experts always perform a final check (Step 6) to identify any remaining issues with the engine or related components. This thorough assessment ensures that the crankshaft sensor replacement has fully resolved the initial problem and that no other underlying issues persist.
By following these expert-recommended steps, one can confidently complete the replacement of a crankshaft sensor and ensure optimal engine performance and reliability.
“Unlocking the Mysteries of Crankshaft & Camshaft Sensors: A Must-Read Guide”
What to Do After Replacing Crankshaft Sensor
Replacing a faulty crankshaft sensor is a crucial step in maintaining the performance and efficiency of your vehicle’s engine. However, it is equally important to take certain precautions and follow specific steps after the replacement to ensure the sensor functions optimally. In this article, we will discuss the essential actions to take after replacing a crankshaft sensor.
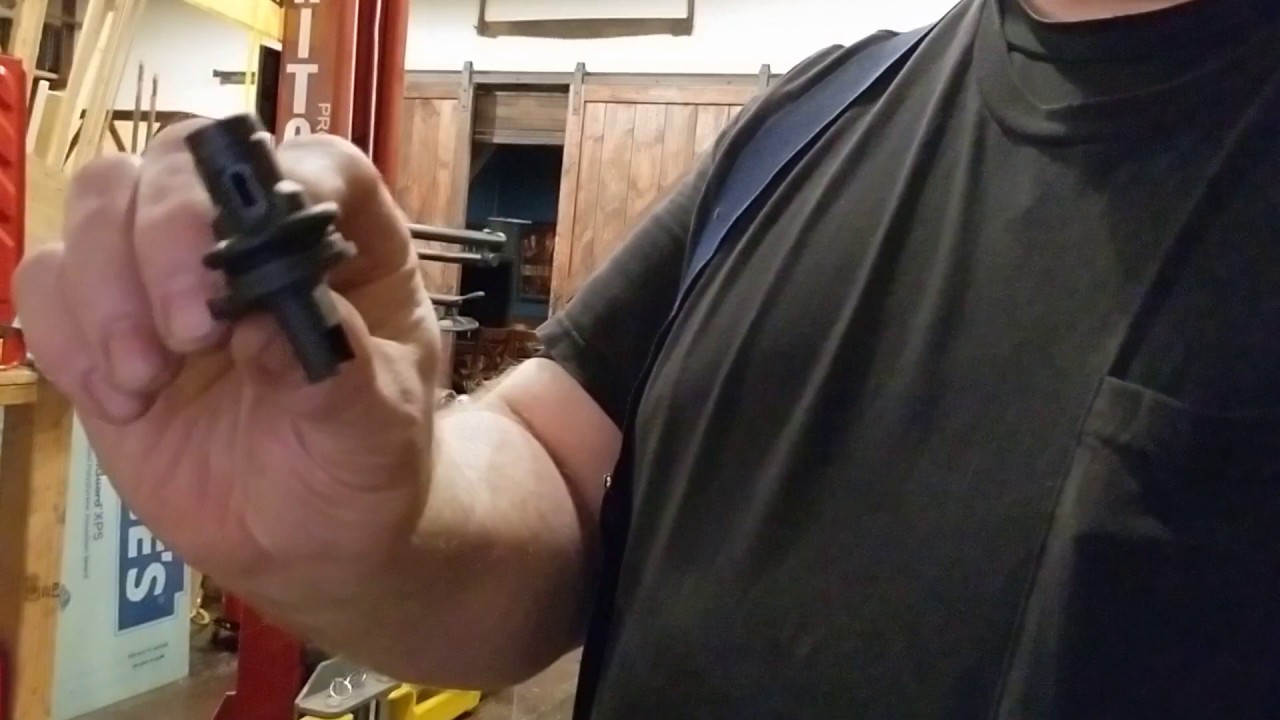
1. Inspect the Sensor Installation
After replacing the crankshaft sensor, it is crucial to inspect the installation to ensure everything is in place correctly. Start by examining the sensor’s connection to the engine block, ensuring it is secure and properly aligned. Check for any loose or damaged wires that may affect the sensor’s functionality.
Additionally, make sure that the sensor is correctly positioned in relation to the crankshaft. A misaligned sensor can result in inaccurate readings and potential engine issues. Double-check the sensor’s alignment using the manufacturer’s specifications or consult a professional mechanic if you are unsure.
2. Clear Error Codes
Once the new crankshaft sensor is installed, it is essential to clear any existing error codes in your vehicle’s onboard computer system. These error codes may have been triggered by the faulty sensor and can still be stored in the system even after the replacement.
Use an OBD-II scanner to connect to the vehicle’s diagnostic port and access the error codes. Clear all stored codes related to the crankshaft sensor or any other relevant codes. This step ensures that your vehicle’s computer starts fresh and accurately monitors the new sensor’s performance.
3. Perform a Test Drive
After installing the new crankshaft sensor and clearing error codes, take your vehicle for a test drive. This step allows you to verify if the replacement was successful and if the sensor is functioning correctly.
During the test drive, pay close attention to the engine’s performance, especially when accelerating, decelerating, and maintaining a constant speed. Look out for any unusual vibrations, hesitation, or stalling, as these may indicate further issues with the sensor or other components.
If you experience any problems or notice inconsistencies in the engine’s behavior, it is advisable to consult a professional mechanic for further evaluation and potential adjustments.
4. Monitor for Warning Signs
Even after a successful sensor replacement, it is essential to continue monitoring your vehicle for any warning signs that may indicate sensor-related issues.
Keep an eye out for the check engine light, as it may illuminate if the new sensor encounters any problems. Additionally, if you notice a drop in fuel efficiency or a decrease in performance, it could be an indication that the sensor is not functioning optimally.
Regularly checking your vehicle’s performance and addressing any warning signs promptly can help prevent potential engine damage and ensure the longevity of your vehicle.
5. Maintain Regular Servicing
After replacing the crankshaft sensor, it is crucial to maintain regular servicing and maintenance of your vehicle. This includes scheduled oil changes, filter replacements, and overall inspections.
Regular servicing ensures that all components, including the new sensor, are functioning optimally and can help identify any potential issues before they escalate. It also provides an opportunity to clean and inspect the sensor, removing any dirt or debris that may affect its performance.
By keeping up with regular servicing, you can prolong the lifespan of your crankshaft sensor and enjoy a smooth and reliable driving experience.
In conclusion, replacing a crankshaft sensor is only the first step in ensuring your vehicle’s engine operates efficiently. By following the steps mentioned above, such as inspecting the sensor installation, clearing error codes, performing a test drive, monitoring for warning signs, and maintaining regular servicing, you can maximize the sensor’s effectiveness and avoid potential future issues.